

Building a compact wooden chicken coop is exciting, but installing safe interior lighting is a step many overlook. Good lighting helps your chickens stay healthy, lay more eggs, and move safely at night. But in a small wooden space, wiring and placement can be tricky. If you use the wrong materials or methods, you risk fire, overheating, or electrical shocks. This guide shows exactly how to choose and install safe lighting inside a small coop, even if you have minimal experience.
Keeping your birds on a steady laying cycle during the winter months requires consistent morning and evening light. Check out our hands-on evaluation of the most reliable solar dusk-to-dawn interior lights on the market today to see how they perform.
Why Lighting Matters In A Wooden Coop
Proper lighting keeps chickens calm and productive. Egg-laying often depends on enough light—most breeds need 14–16 hours daily. In winter, natural daylight isn’t enough. Safe interior lights can:
- Boost egg production by up to 20%
- Reduce injuries from poor visibility
- Help you spot pests or health problems early
Wooden coops are more vulnerable to fire than metal or plastic. Electrical safety isn’t optional—it’s essential.
Choosing The Safest Lighting For Small Wooden Coops
Not all lights are equal. Some bulbs produce too much heat, which is dangerous in tight, wooden spaces. Others need complicated wiring.
Comparing Lighting Types
Here’s a quick look at popular choices:
| Type | Heat Output | Energy Use | Fire Risk | Best For |
|---|---|---|---|---|
| LED | Low | Very Low | Minimal | Compact coops |
| Incandescent | High | High | High | Large, open coops |
| Compact Fluorescent | Moderate | Low | Moderate | Medium spaces |
LED bulbs are safest for compact wooden coops. They stay cool, use less power, and last longer. For most small coops (under 40 sq ft), a single 5–9 watt LED is enough.
Key Features To Look For
- Enclosed fixtures: Stop dust, feathers, and moisture from reaching the bulb.
- Waterproof rating (IP65+): Protects against humidity and splashes.
- Shatterproof bulbs: Prevents glass hazards.
Avoid using heat lamps inside wooden coops. They cause over 80% of coop fires reported each year.
Planning The Lighting Layout
Small coops need careful placement. Too much light can stress chickens; too little makes them nervous.
Example Layout For A 6×6 Ft Coop
| Area | Recommended Fixture | Spacing |
|---|---|---|
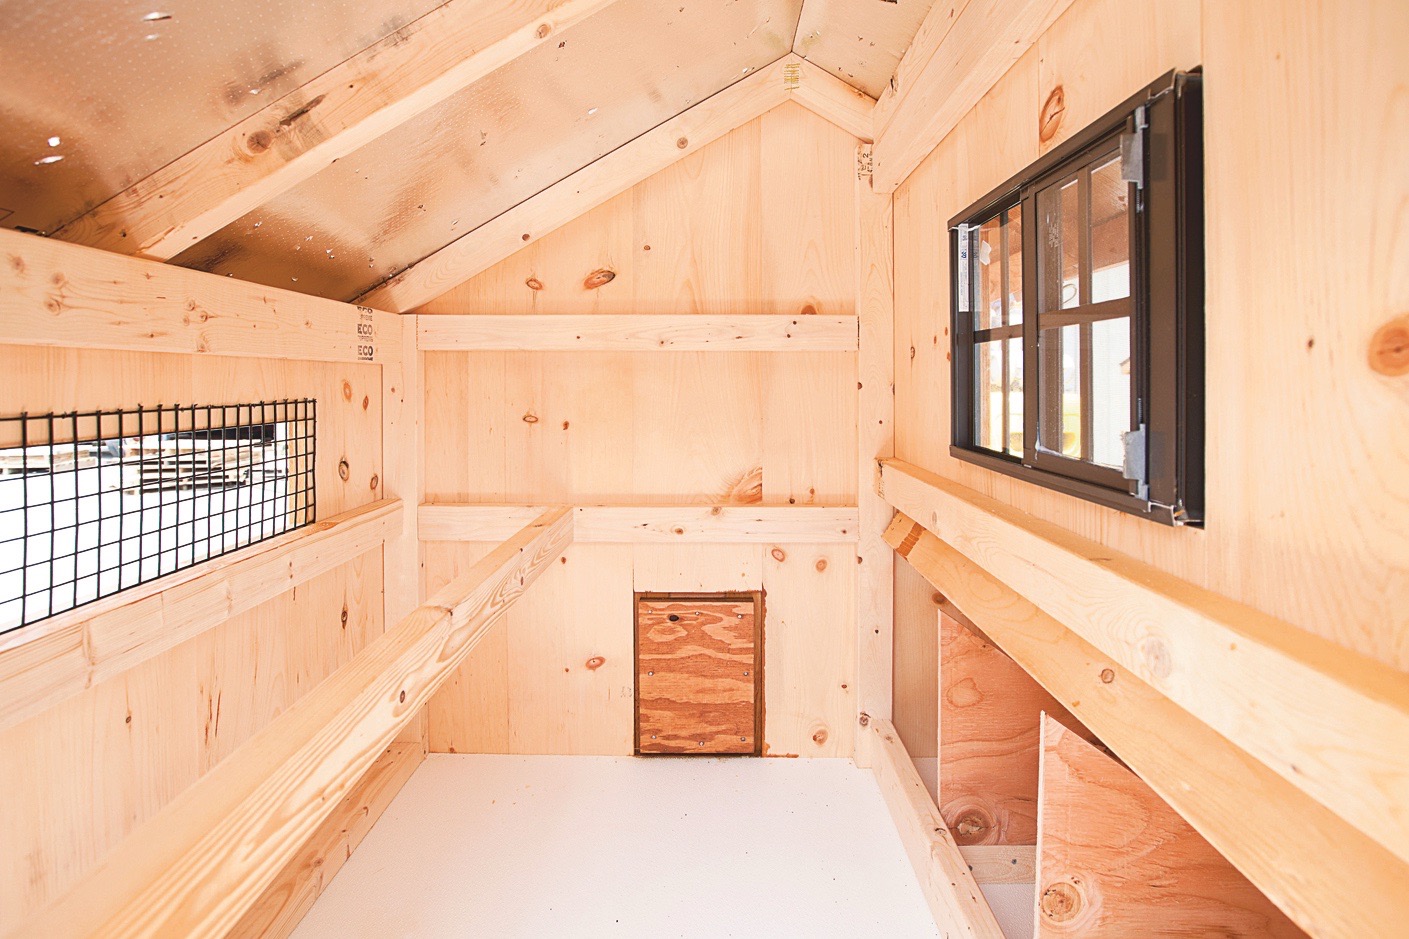
| Main roost | LED strip (waterproof) | Along ceiling center |
| Nesting boxes | Small LED bulb | Above boxes, shielded |
| Feeding area | LED puck light | Mounted on wall, 4 ft from floor |
If you have windows, place lights away from direct sunlight to avoid glare. Never put fixtures near bedding or wood shavings.
Safe Installation Steps
Installing lighting in a wooden coop isn’t complicated, but mistakes can be dangerous. Follow these steps for safe results:
- Turn off power at the breaker before starting.
- Measure the space. For a compact coop, 1–2 fixtures are usually enough.
- Choose low-voltage systems (12V or battery-powered). This reduces shock risk.
- Use outdoor-rated wires (UL-listed, waterproof). Staple wires along beams, not walls, to avoid pecking.
- Install fixtures at least 18 inches from any surface or bedding.
- Seal openings with silicone to keep moisture out.
- Add a timer or daylight sensor so lights turn off automatically.
A common mistake is using regular household extension cords. These aren’t designed for damp, dusty environments and often fail after a few months.
Fire Prevention Tips
Wood burns easily, so fire prevention is critical. Over 50 coop fires each year are linked to poor wiring or hot bulbs.
- Never use incandescent bulbs in small wooden coops.
- Check wiring for wear every month.
- Keep all bulbs shielded and away from loose bedding.
- If using a battery, choose sealed units to prevent leaks.
Example Fire Safety Comparison
| Setup | Fire Risk | Maintenance Needed |
|---|---|---|
| LED with timer | Very Low | Monthly check |
| Incandescent bulb | High | Weekly check |
| Heat lamp | Extreme | Daily check |
Maintenance And Troubleshooting
Safe lighting needs regular checks. Dust and moisture can build up fast in wooden coops.
- Clean fixtures every 1–2 months.
- Test timers and sensors often.
- Replace batteries once per year.
- Inspect wires for chewing or damage.
If your lights flicker, check connections and replace any worn wires. Don’t ignore strange smells—these can mean overheating.
One non-obvious tip: Place a small fan near fixtures (but not blowing on them). This helps keep moisture away and extends bulb life.
Where To Get Supplies
Reliable lighting parts are available at most hardware stores. For specialized waterproof fixtures, visit poultry supply shops or order online. The US Department of Agriculture offers safety guidelines and recommended products for small coops: USDA Chicken Resources.
Frequently Asked Questions
How Many Lights Does A Compact Wooden Coop Need?
Most small coops under 40 sq ft need only one or two LED fixtures. More can stress chickens or cause overheating.
Can I Use Solar-powered Lights?
Yes, solar lights are safe and energy-efficient. Choose models with battery backup for cloudy days.
What Is The Safest Bulb Type For Wooden Coops?
LED bulbs are best. They stay cool, use less power, and last longer than other types.
Should I Hire An Electrician?
If you’re unsure about wiring or have a larger coop, hiring a licensed electrician is wise. For basic low-voltage setups, most DIYers can install safely.
How Do I Know If My Lighting Is Safe?
Check for waterproof ratings, enclosed fixtures, and low-voltage wiring. Inspect monthly for damage, and never use unshielded bulbs.
Installing safe lighting in a compact wooden coop doesn’t have to be difficult. With careful planning, the right materials, and regular checks, your chickens will stay healthy—and you’ll avoid fire risks. Remember, safety always comes first in wooden coops.
